

If you are an IKEA Family member you might have seen these amazing emails that feature products for £0! That’s right, nothing! IKEA are promoting the Live LAGOM ethos of upcycling and making new things out of old.
I’ve been crafting for as long as I remember and the re-purposing ideas really inspired me.
I wanted to see how easy it was to reuse a plastic bottle and upcycle it into something useful, and hopefully beautiful. I made a lot of mistakes on the way so I can tell you what worked, and what didn’t.
Don’t expect perfection first time
I’m a professional designer. It’s what I do for a day job and teaching people craft is one of the other things I do. I still get it wrong. That is ok. You have to make mistakes to learn anything. Don’t be demoralised when your first, second, third or 4th attempts don’t look like you want them to. Celebrate the fact that you are trying something new. People discover wonderful things by accident, like penicillin! Remember that Edison tried over 3000 versions of the lightbulb before he was happy with one.
There is no right way
There are a couple of goals when it comes to upcycling. The main one is to save an object from going to landfill. It is much better to reuse something or repair it before it gets recycled and landfill should be a last option. If you can find a way to take a weak material that would cost time and resources to recycle, and turn it into something stronger that will last longer, then you have won the upcycling game. How you get to that point is up to you, there is no right or wrong way.
So, ditch the perfectionism, get out the scissors, grab a plastic bottle or two and join me in finding other uses for them.
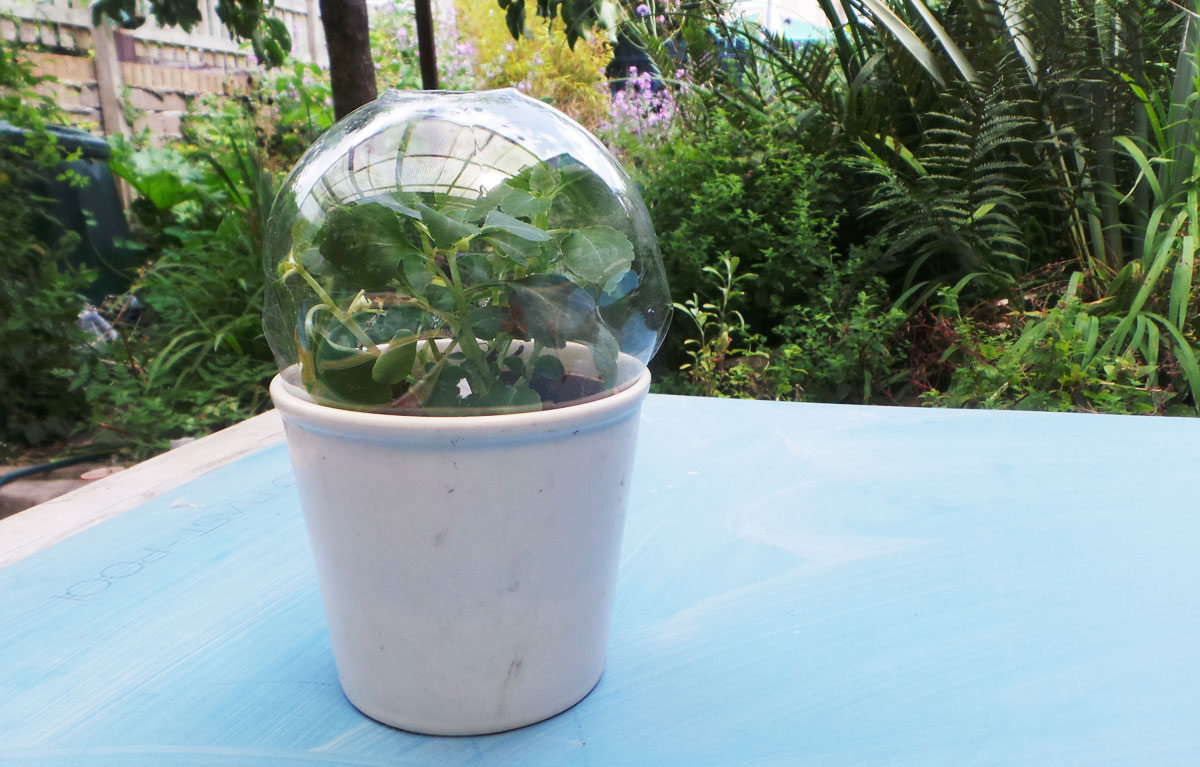
Cloche to protect plants
You will need
- The top end of a plastic bottle
- Scissors
This is a super easy way to reuse plastic bottles. I cut the caps off because I wanted to use them for something else, but you could leave them on. The bigger hole makes it easier to water with the cloche on though.
Cut a couple of slits in the sides to make the cloche fit neatly inside the pot
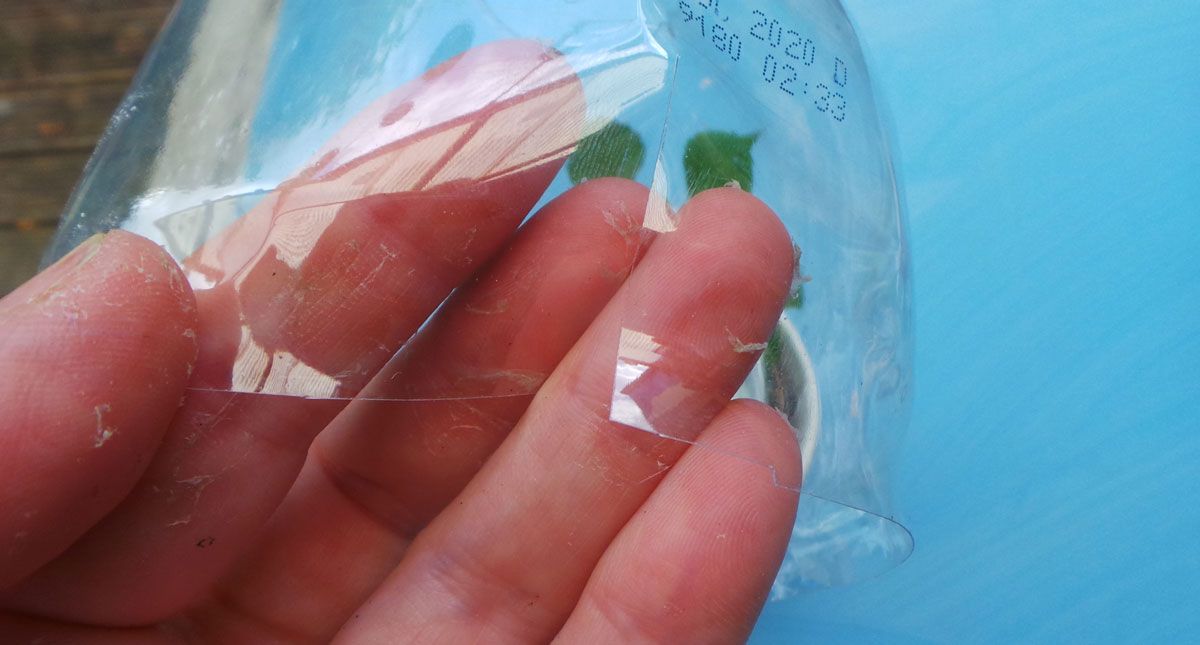
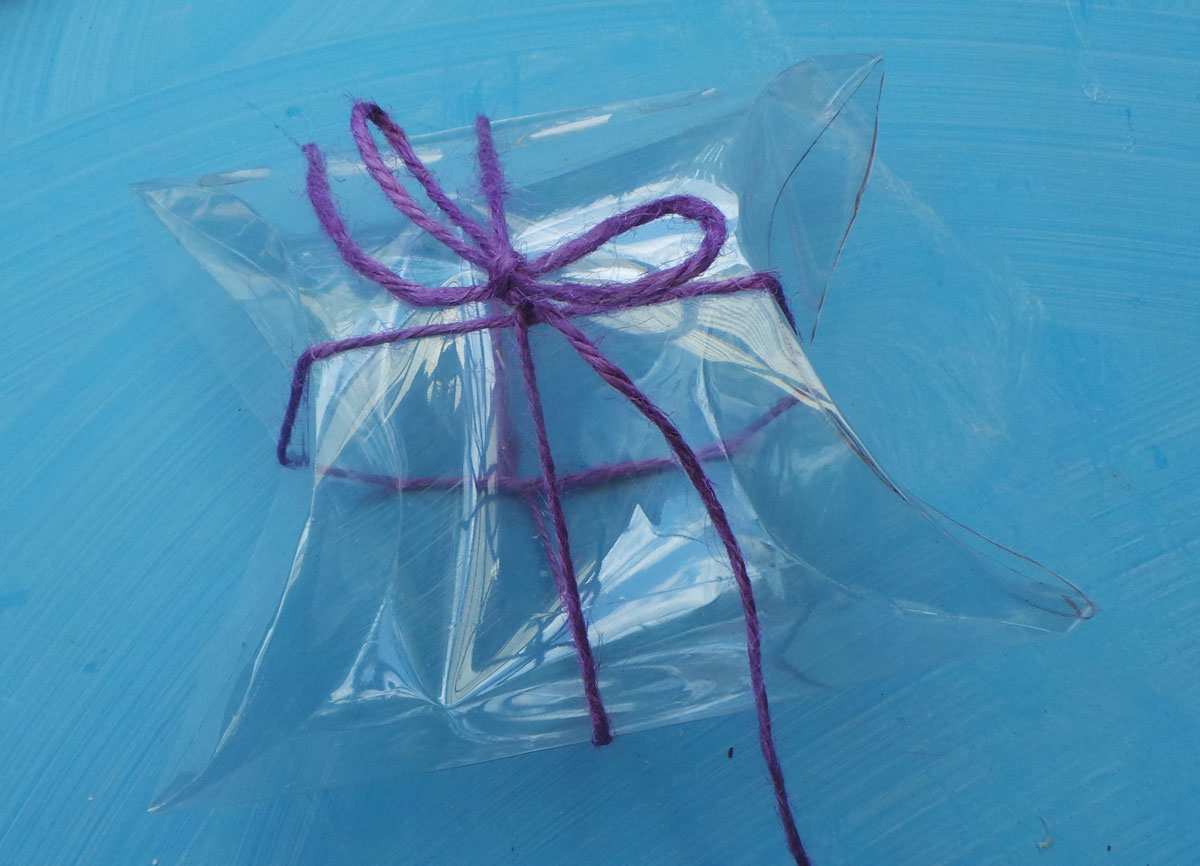
Reusable Plastic Pillow Box
This is quite easy to do. You could play around with the diameter of the plate you use to trace around to see if it makes it better.
You will need
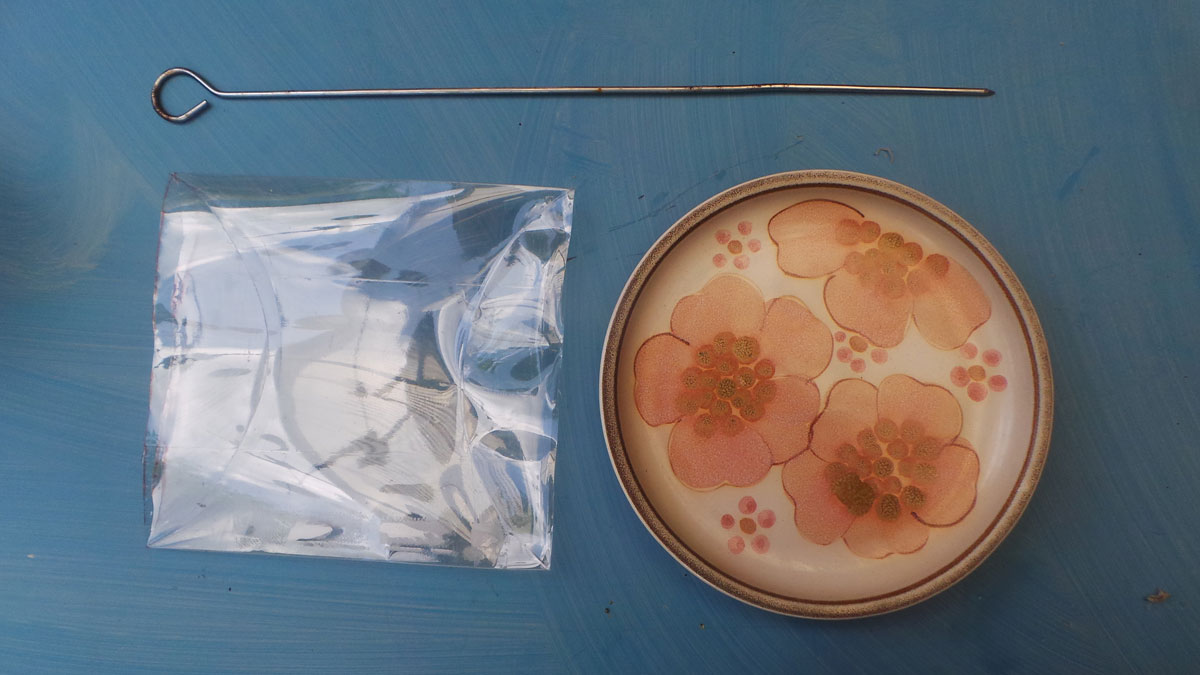
- The straight section from the middle of a large plastic bottle
- Rolling pin
- A biro or pointy thing to scratch into the plastic
- String or ribbon to tie
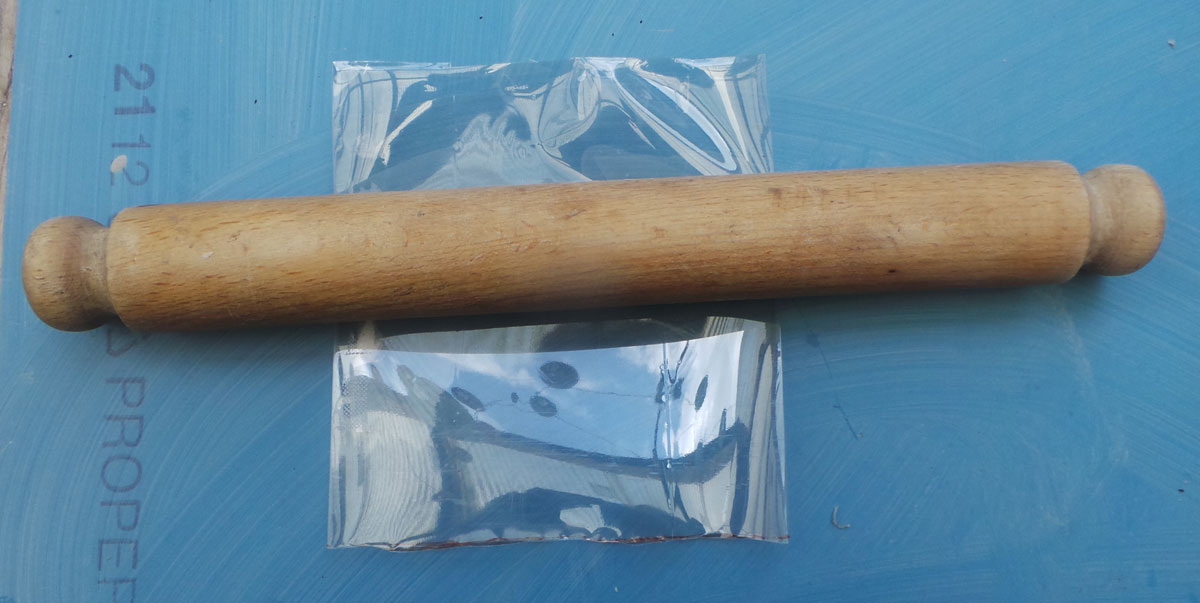
Step 1 – use the rolling pin to flatten out the plastic cylinder. This is easy!

Step 2 – Line the plate up with the edges of the cylinder and draw round it with the pointy thing.
Push hard, you are aiming to dig into the plastic to make it easier to fold. Repeat on the top edge then turn over and do the same on the back.
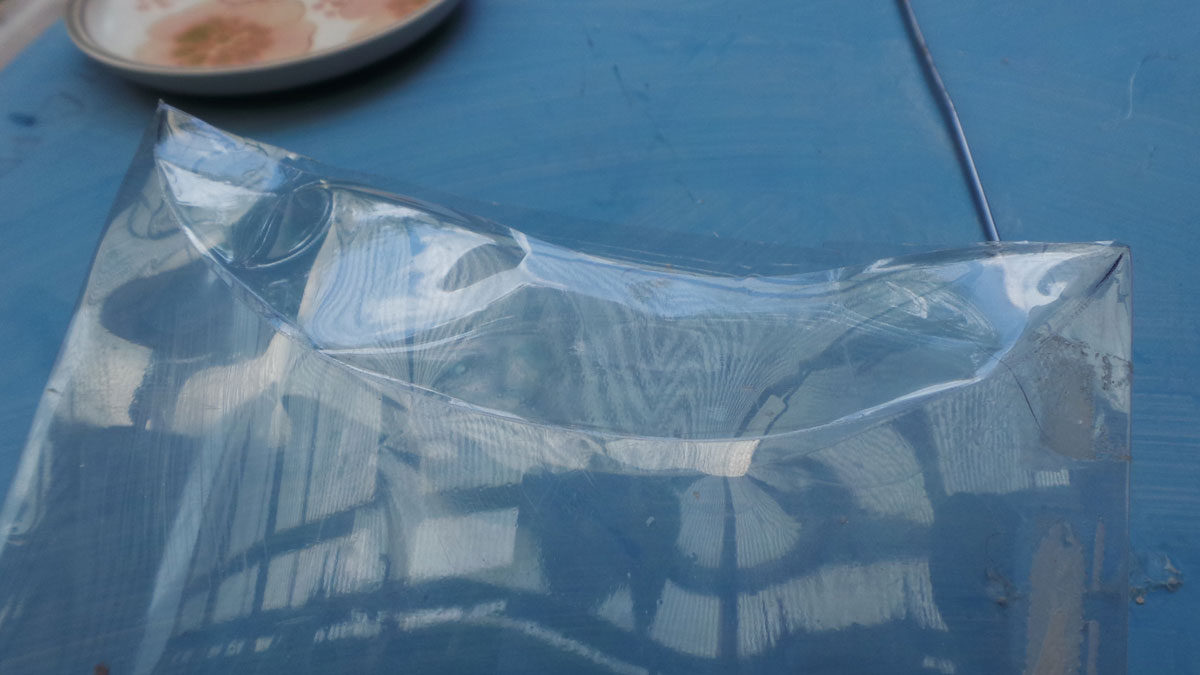
Step 3 – Fold the curve
This is a tiny bit fiddly but once you get the hang of pinching the sides together to make the crease it works well. Your aim is to get the semi circle to go inwards, forming a new side to the box.
To finish off push the pointy corners together which should make the box form. Fill with whatever you like and tie with string or ribbon. You could tape the join too if you wanted.
Double ended tiny container
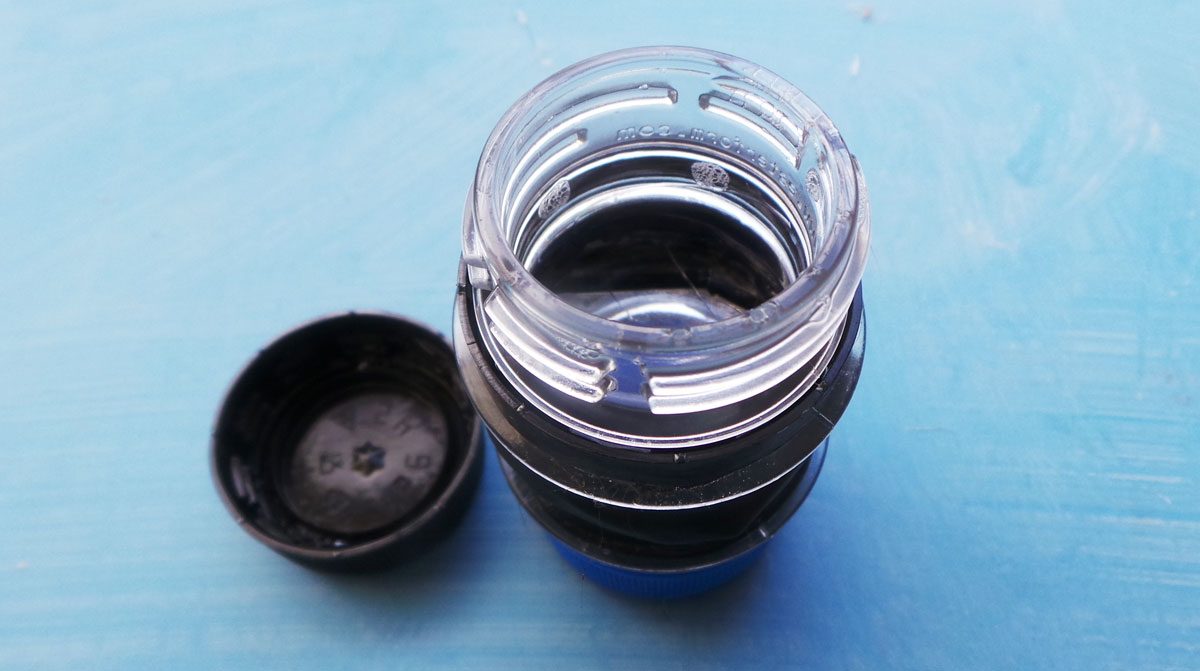
This has 2 sides that open independently so it is useful for carrying small quantities of pills or creams. If you were careful with the glue gun and didn’t leave any stray strands you might be able to use it to carry salt and pepper or herbs and spices which would come in handy when camping.
You will need:
- 2 plastic bottles with lids
- Thick tape (I used electrical tape)
- A glue gun and glue sticks
- Strong scissors
- A knife or something pointy
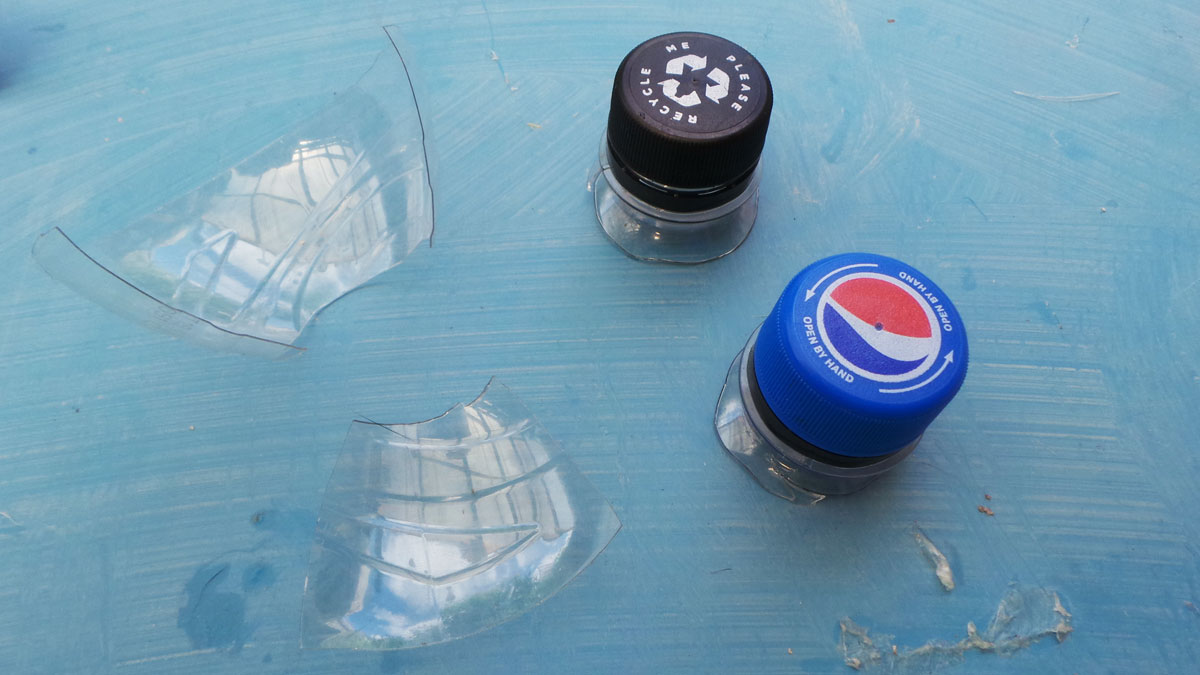
Step 1 – Start by cutting off the lids and screw bit of the bottles
Cut a bit bigger than you think you might need because the heat of the glue gun will shrink the plastic. You will trim bits off later anyway.
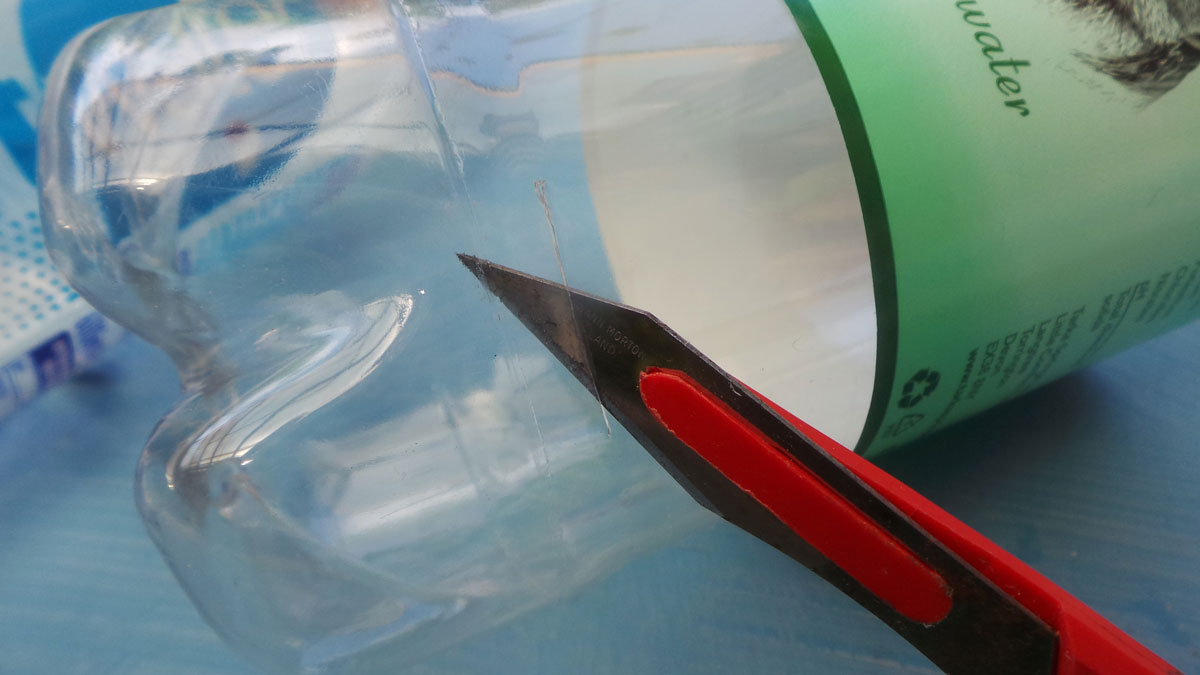
Top tip: use the knife to make the first hole in the bottle and then use the scissors to finish off.
Also cut a bit of plastic from the side of the bottle. This needs to be about a cm wider than the bottle caps all round. It can be any shape, you will trim it later. Use a flat bit of plastic if it is available.
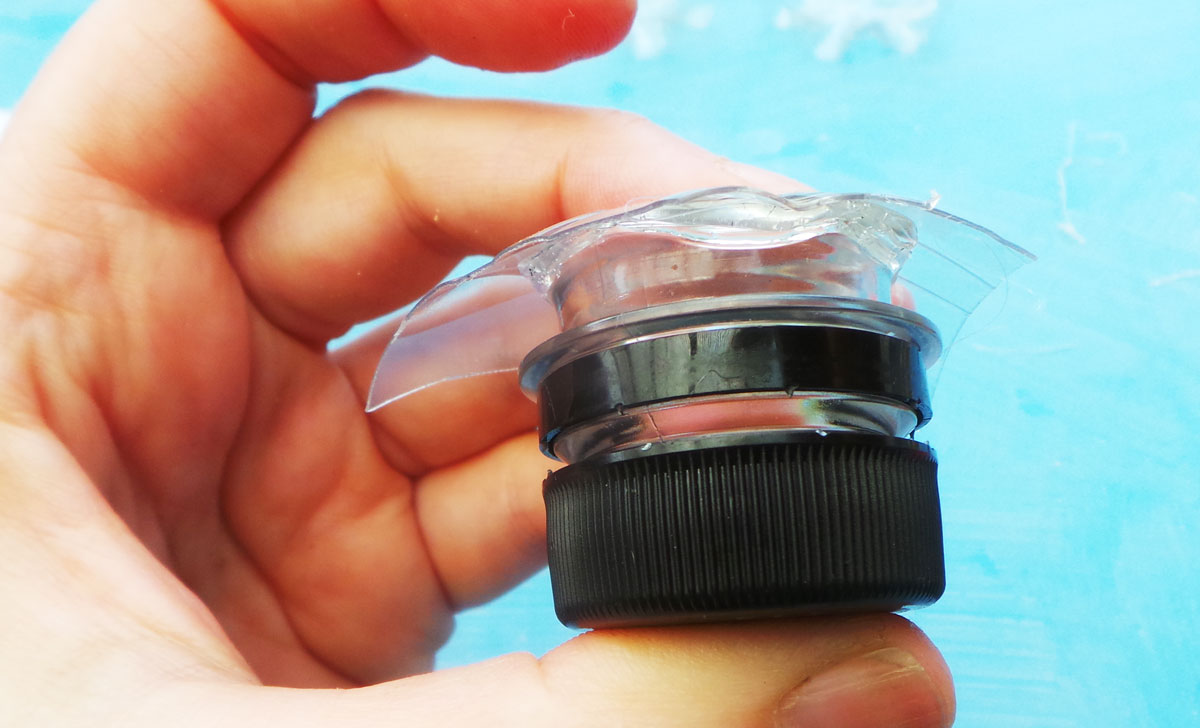
Step 2 – Using the glue gun, put glue all around the edge of the cut off bottle
Then use your hands to squash the flat bit of plastic onto it. Hold until it sticks.
Top tip: Hot glue melts plastic. Start by adding a small slither of melted glue then do another round of glue on top of that.
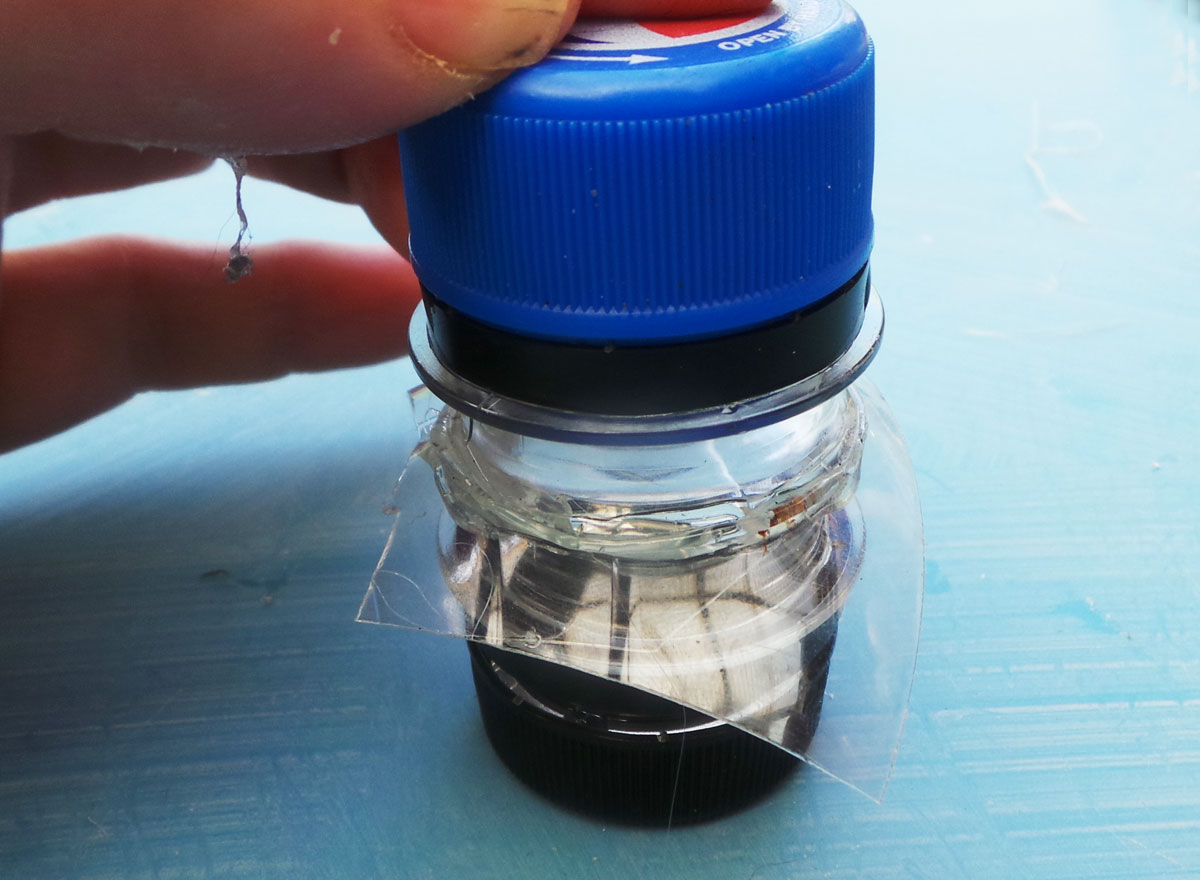
Step 3 – Glue the other bottle end and squash onto the dividing plastic
Line up as best you can and hold until properly set which is probably longer than you imagine.
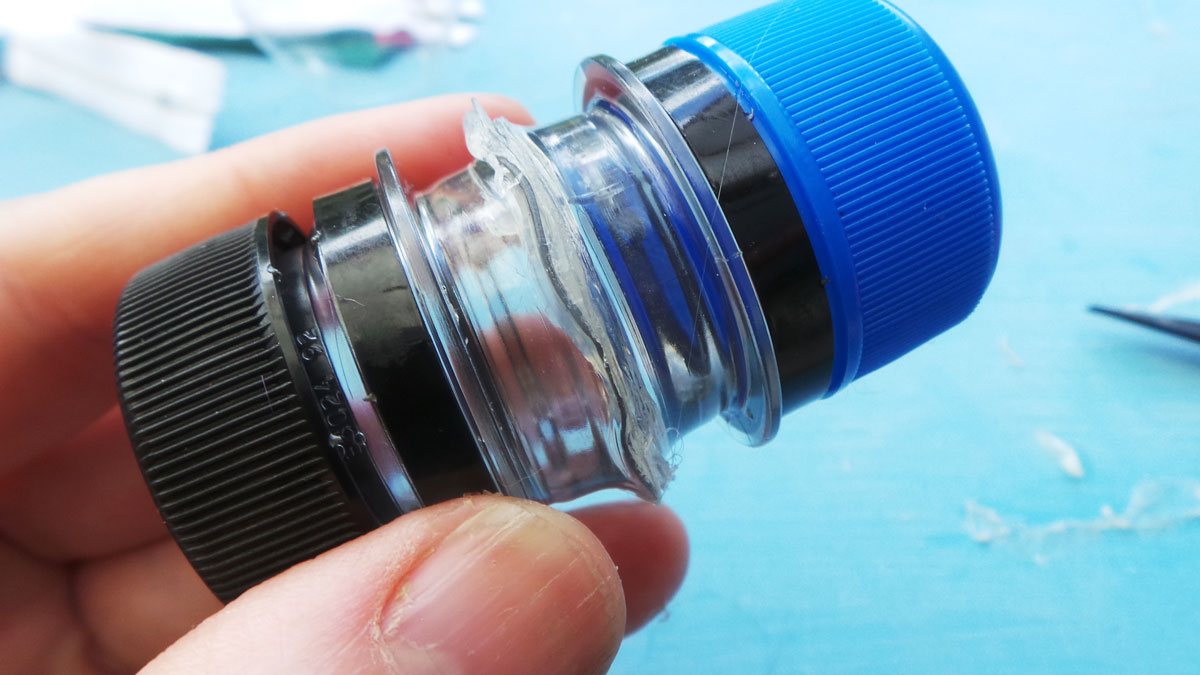
Step 4 – now you can use the scissors to trim off all the way around the middle where you glued the bits together
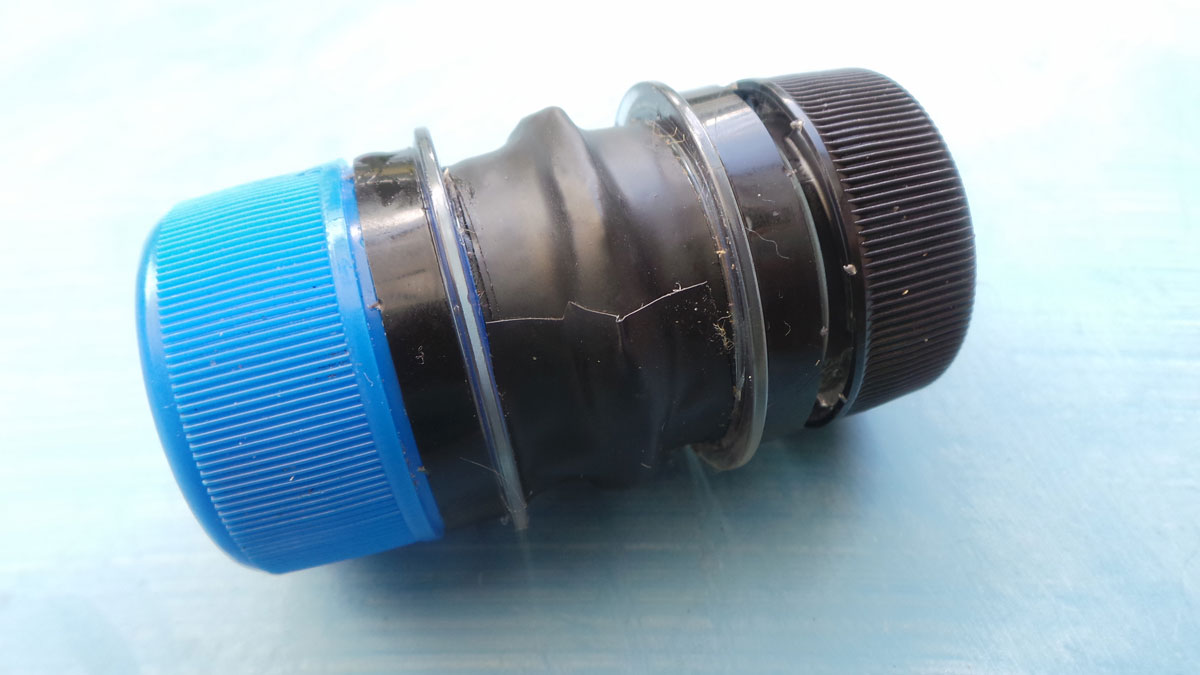
Step 5 – Finish off by taping the middle to hide the ugly join
You could make this without the dividing section if you wanted a longer container. It would be big enough to hold needles and thread then.
Once you get the hang of using hot glue with plastic this is a pretty easy and very useful upcycle.
Cable tidy with zip

This looked great on Pinterest! It was more challenging than I expected though and I made a lot of errors until I got it right.
You will need
- 2 plastic bottles the same size
- A zip that goes almost all the way round the bottle – it can be longer, you can just cut the end off
- A glue gun and glue
- A knife or something pointy
- Strong scissors
- Strong ribbon – not nylon hair ribbon, something sturdier that won’t melt with the glue from the glue gun. I tried this with jute string and it was hard to get it to stick. Ribbon is easier.
Step 1 – cut the bases off the bottles
My first mistake was to make these too far away and the container was weak and difficult to zip shut
The bottles are designed to be strong at strategic points so you can use this to your advantage. Use the knife to make an entry point no more than 1cm away from the ridge you can see on the bottle. Then use the scissors to cut around.

Step 2 – glue the zip in
I found that gluing the zip on the inside worked better than on the outside. Don’t put the plastic right next to the teeth, leave a gap of at least half a cm to 1cm so the zipper can run up and down.
Top Tip: Apply the glue to the zip not the plastic.
Top Tip 2: Let the glue cool down a little before you squash the zip onto the bottle. You can get away with leaving it for quite a while, as long as it is still tacky, it will stick. You can always add more later.
Glue one side with the zip shut, wait until it is dry, open the zip up, apply the glue then attach the other end.
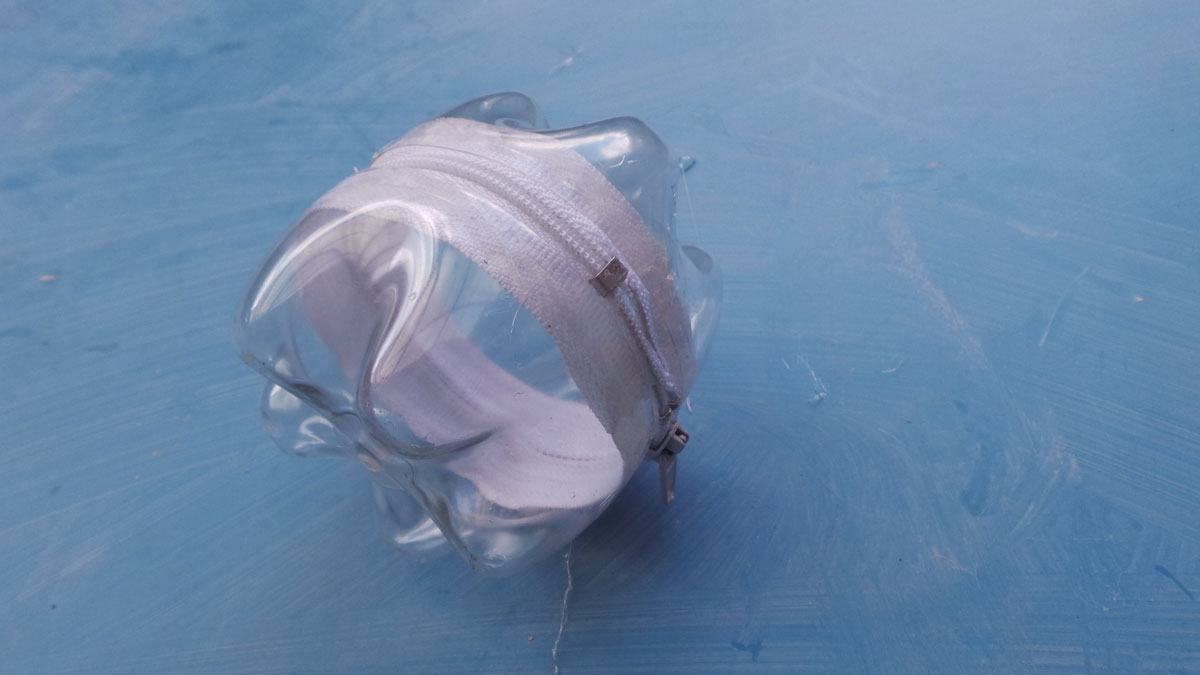
Step 3 – Wait for it to dry
Wait a longer time than you think you need to. Go and have a cup of tea 🙂
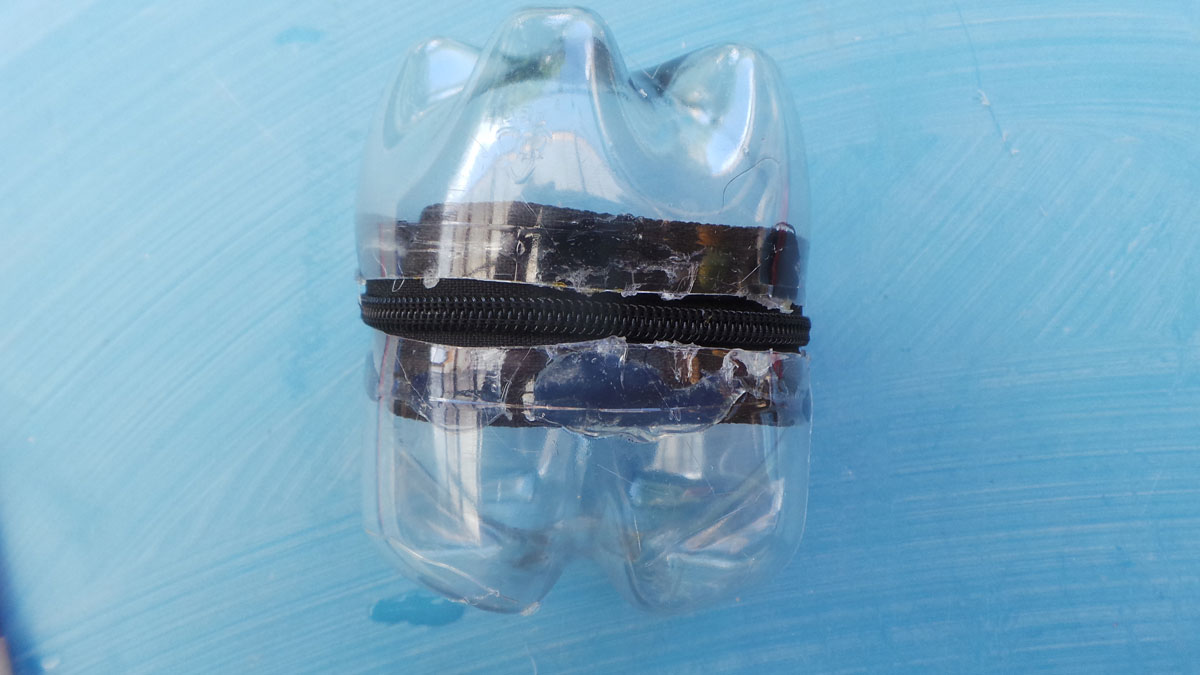
This is what it looks like if you use 2 different bottles. They looked the same circumference but they really were not! If your little box looks messy like this don’t worry, that will all be covered up later.
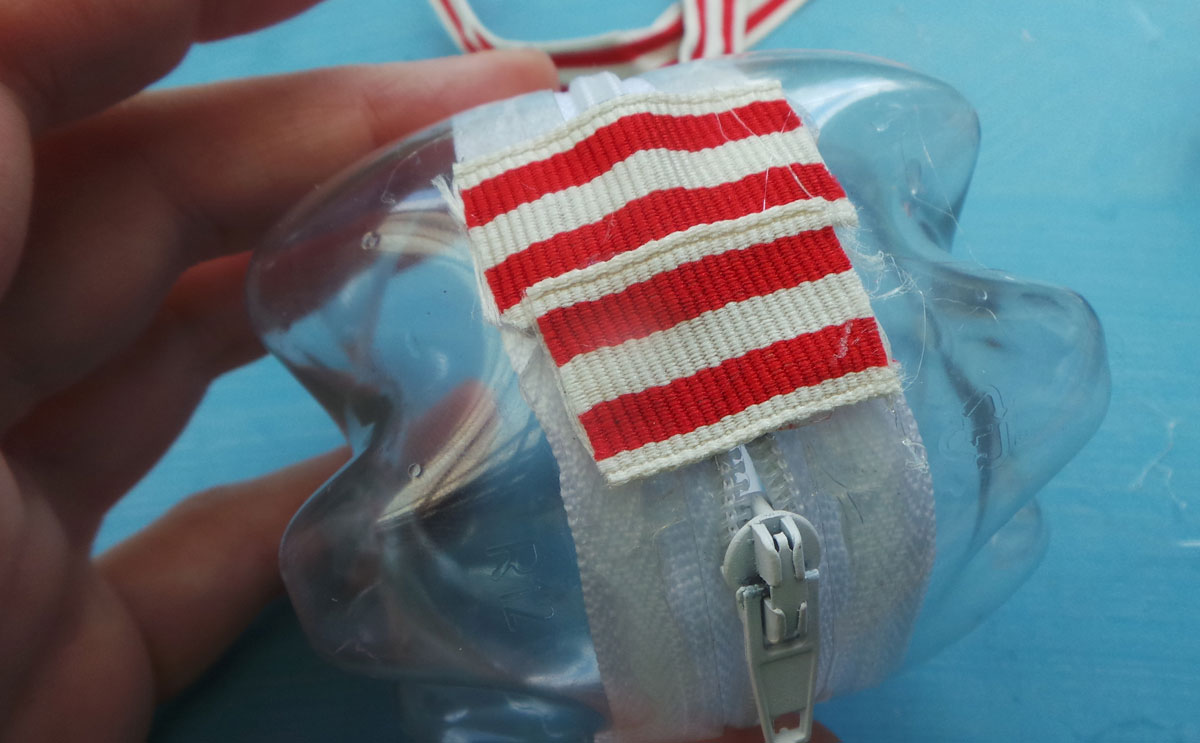
Step 4 – reinforce the hinge
It’s a lot easier from now on. I used a bit of the ribbon that I’d saved from a Christmas present. You need a bit to cover up the end of the zip on both the outside and inside. I put the inside bit on as the last step.
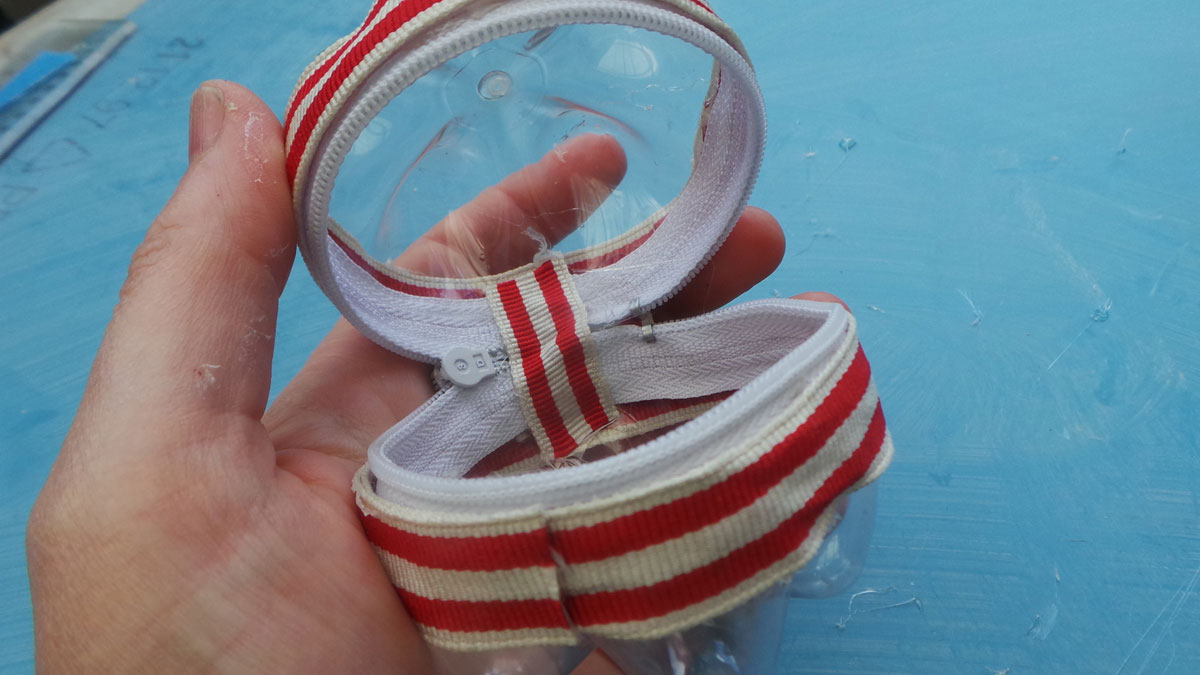
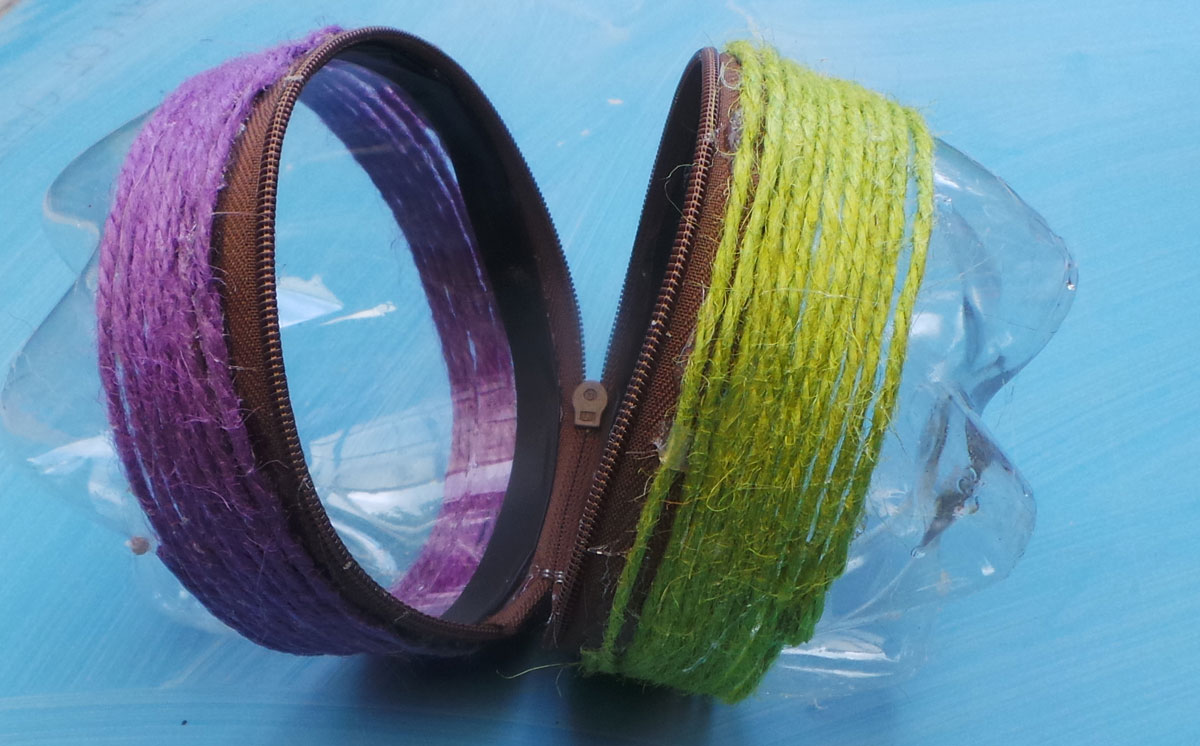
Step 5 – cover up the edges
Wrap the ribbon around the bottle and cut that much plus a little overlap. Then glue gun the ribbon and wait for it to cool down. If you are not careful it is possible to get the ribbon too close to the zip which will stop it opening. Leave a little gap.
After a few trial goes I got this to work but it was more difficult than I expected. The main problem is the hot glue shrinking the plastic. It is worth persevering with though because I’ve got a tough little container to keep my cables safe now.
So, how easy is it to upcycle a plastic bottle?
It can be as difficult as you want to make it. I hope I’ve given you some ideas for things to try out that range from the very easy cloche to the more difficult cable box.
If you are tempted to have a go, here are all my top tips in one handy place:
Using a hot glue gun
- Avoid gluing the plastic directly, glue the thing you want to stick to it and wait for it to cool down a bit before applying.
- If you have to apply glue to the plastic, cut it a bit bigger than you want it to account for shrinkage.
Cutting the bottles
- Make a hole with a knife first then finish off with scissors.
- You can trim any scraggy ends of afterwards, just get the basic shape cut.
- Use the mouldings on the bottle as a cutting guide. Cut away from the ridges as they will be stronger than the rest of the bottle.
Prototype
- Try out your idea on a small bottle first before moving to a bigger one. This will save you materials and time
- Don’t expect to get it perfect first time!
If you live near the IKEA store in Greenwich look out for the regular upcycling workshops. They are free but you might need to book if spaces are limited. Joining in with a workshop is a brilliant way to get some hands on experience and you might learn something new. I find that working with other people gives me lots of new ideas too.
If you don’t have an IKEA near you the Live LAGOM Facebook group full of people trying ideas like this out. If you want to join us please visit – https://www.facebook.com/groups/635504166591576/
Disclosure – IKEA sponsored this post. I only write about products and companies I believe in.